How to Make Mockups for Etsy Digital Downloads in Canva
A piece of advice that rises to the surface in nearly every “Etsy Tips” article is to take great listing photos. As a digital download seller, digital products can be a bit hard to capture. Rather than taking photos of my products, I create mockups of them using Canva. Mockups are a great way to showcase an item to a potential customer and saves a ton of time and resources compared to photographing them yourself. In this article I’m going to share a simple approach to creating mockups in Canva.
The instructions in this article will cover mockups for paper or digital products such as resumes, flyers, and planners. Anything dimensional won’t work well using these instructions. I’ve also included a brief section on how to add a device frame to your product images, which is a really cool feature of Canva SmartMockups. Let’s dive in!
Creating a Digital Download Mockup
Adding a Device Frame to a Mockup Image
Creating a Digital Download Mockup
Set up your digital download mockup file
To get started, create a new file in Canva that matches the Etsy listing image size. I use 2700 x 2025 px. Once you have your artboard setup, upload any product images that you’ll use to create your mockup. I typically export all the files of my digital download as JPGs and upload them to Canva.
Choose a mockup background
The next step is choosing a background style for your mockup. I encourage you to spend some time brainstorming what type of environment your product would naturally be used in. This will help a potential customer connect to your item and imagine it existing in their everyday life. For example, a grocery list printable might be used in a kitchen so using a background that mimics a countertop (think marble, granite, stone) will help bridge the gap.
You can search for backgrounds in Canva or find one on a stock photo site like Unsplash if you’re looking for something specific that you don’t see in Canva. Drag the background onto your canvas and position it however you’d like.
Add your digital download product image
The next step is to drag your product image onto the background and size it down to fit within the background. To add dimension and make the product look more realistic, you’ll need to add a shadow to the product image. To view your shadow options, click your product image and then find “Edit Image” in the light gray bar above the image. Here you’ll see a ton of different options for shadows.
The most common shadow used for mockups is a drop shadow style because it closely mimics a real shadow in a naturally lit environment. However, if you find there' isn’t enough contrast or “pop” to your image, I recommend using the “glow” shadow option, as it will apply a shadow that shows around the entire edge of the image.
If I’m making a mockup that shows the entire product in frame, I like to change it up sometimes and use the “curved” shadow option. This adds a nice faux “bend” to the paper and really helps it pop from the page.
When you apply any shadow, always be mindful of the color and avoid a shadow that’s too harsh. A subtle hand is key here! To achieve this I always adjust the shadow to a lighter gray rather than black. Another thing that helps make the shadow more realistic is adjusting the blur and transparency. The tweaks will always vary based on the background you’re using (a darker background means a darker shadow, for example).
Add a text banner if desired
The final optional step is to add any text you need to the image. This isn’t necessarily related to creating a mockup but is a common trend amongst digital download listings. Be mindful of the amount of text and the size you use. Always remember that more and more customers are shopping on mobile so text on a tiny listing thumbnail can be really difficult to read. Get the main idea across and save the details for subsequent images and product descriptions.
Adding a Device Frame to a Mockup Image
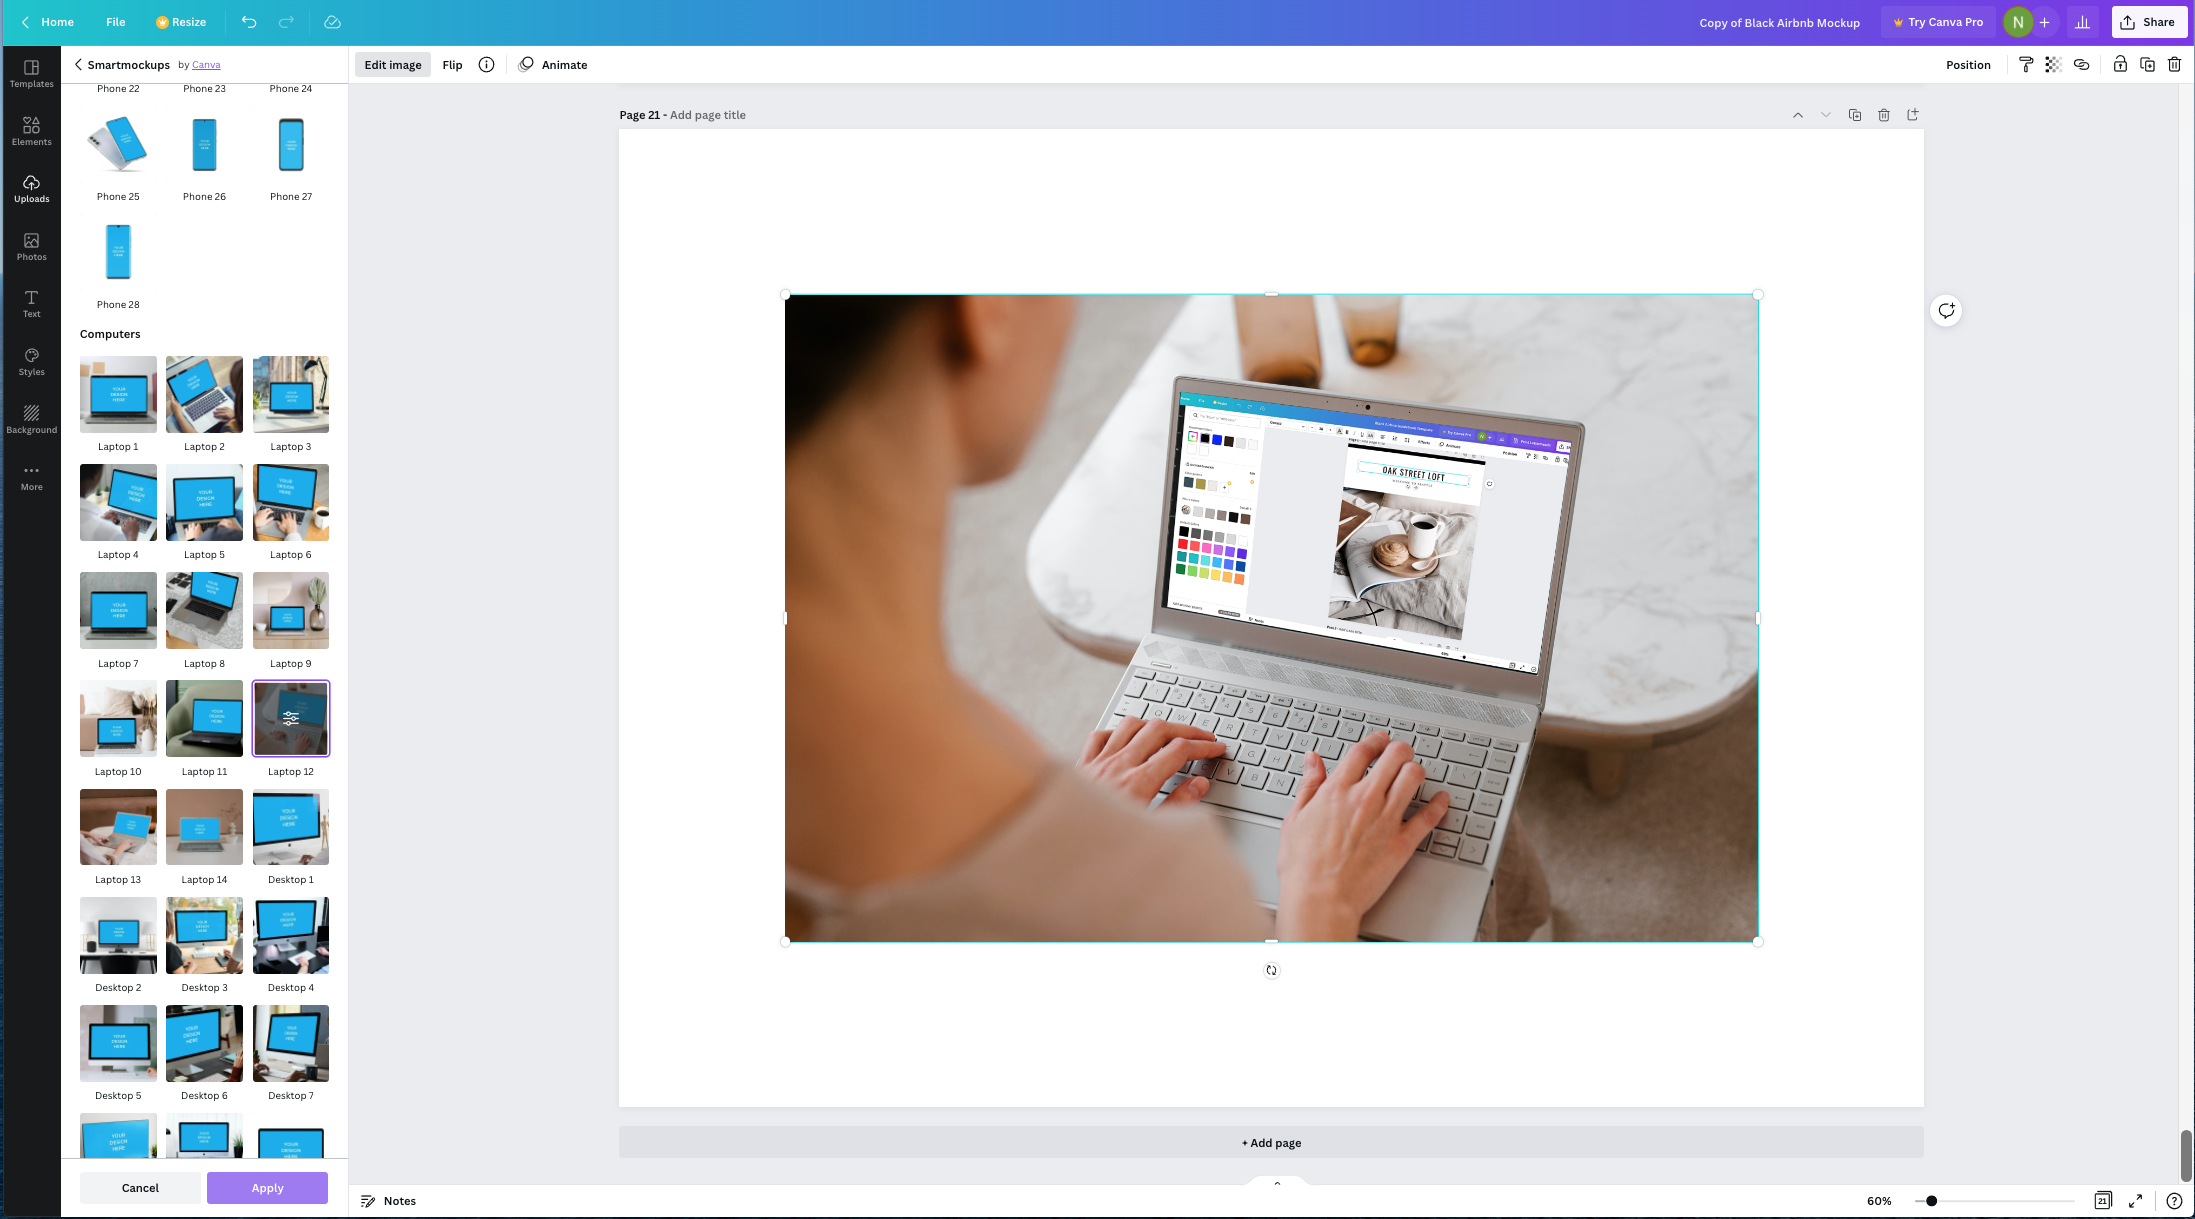
Now that we’ve got the basics down, lets take a look at the SmartMockups section in Canva. As a graphic design graduate, I wish I had this feature all those years ago in school! Canva makes it so much easier than Photoshop to create a realistic device mockup. Gone are the days of searching for the latest iPhone frame. Here’s how to use it:
Similar to applying a drop shadow to an image, click on your image and then select “Edit Image.” If you scroll down in the left panel you’ll see two categories: Frames and SmartMockups. Frames are device “shells” that you can add to create a simple mockup and SmartMockups are full-fledged scenes with devices or environments in them. I prefer to use the SmartMockups because they add such a nice lifestyle element to a listing photo.
Drag whatever image you need onto your canvas and select from the options in the SmartMockup panel. Canva will do all the work for you, you just need to hit “apply” before resizing the mockup image. The one thing to note is that the image you’re mocking up needs to be roughly the same aspect ratio as the SmartMockup image. For example, the screenshot in the image above is a photo of my Canva screen, which is laptop or computer size. I wouldn’t be able to use this in the mobile phone sized mockups. The mockups are smart but not THAT smart!
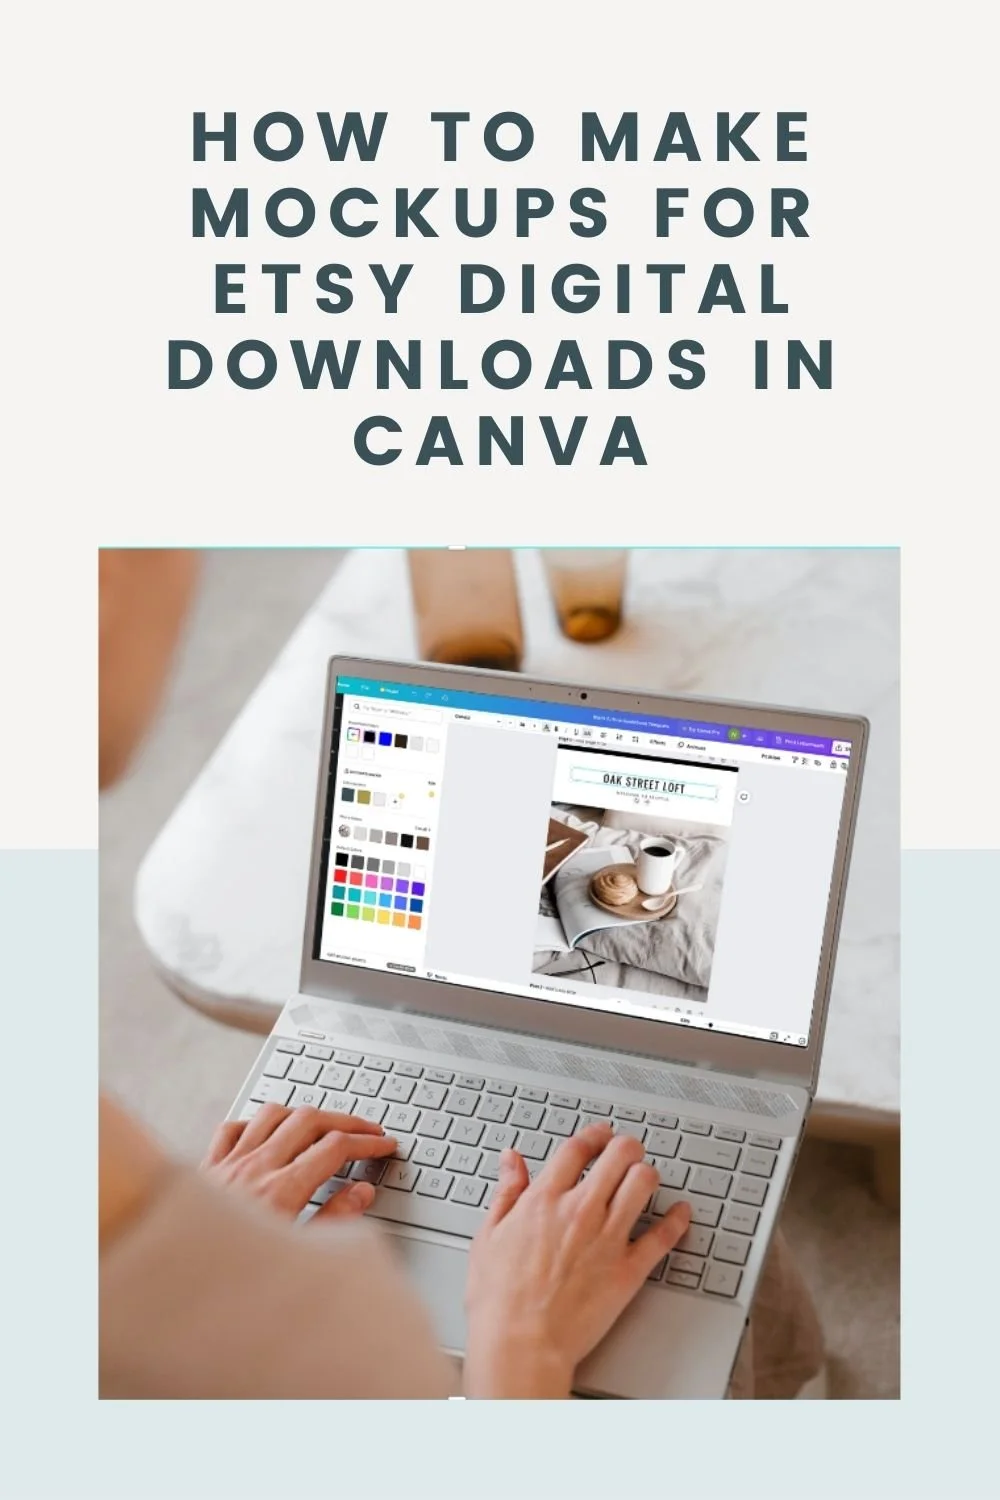
There are so many great options to choose from, from paper to posters to computers to t-shirts. Check out the final product below, so easy and amazing in one click!
If you liked this post, save it for later!
I hope this post helped you add a bit of flair to your Etsy shop digital download listings. If you liked this article, save it for later by pinning one of the images below. I can’t wait to see what you create!


