
How to Increase Buyer Confidence in Etsy Listings with (Virtually) No Work

If you’re an Etsy seller who creates digital downloads like me, you know it’s a lot of work to craft quality listings. Not only do you need to showcase your product beautifully through mockups and product photos, you also need to be really clear to that you’re a reputable seller and they know what they’re getting.
One way to do this is to include FAQ’s, product specifications, and information about using the digital download. In this post, I’m going to share how I automated the process of including this information for each Etsy listing while also adding an extra layer of confidence for my buyers.
Why is this information important?
Well the first thing to note is that people on the Internet have very short attention spans. Your goal as the seller is to capture and convert the buyer in a very small amount of time. If you think about the process of someone searching an item, they’ll be perusing the search listings page then maybe hopping over to the product description page. Once you’ve got them here, the images are the star of the show. This is where I recommend including information about FAQs and item specifications.

Wait, won’t they read all of this in the product description section?!
Let’s use my Boarding Pass Wedding Invitation as an example for this. In the photo above the customer is probably going to first notice the photo, then the title, then the prominent “add to cart” button. Notice how when viewing on a computer, you can’t see the header for “Product Description” which normally contains important info like size, specs, and product details.
An important thing to remember about user experience on the web is that just because something is there, doesn’t mean someone is going to look at or find it.
You can imagine (in fact you may do this yourself when shopping online!) that a quick scan of the photos is all the buyer is going to do before hopping to the next listing. The odds of a user scrolling down the page AND opening the full “product description” is quite low, especially with how the text all blends in together.
Why should I include extra information in my product photos section?
Sets expectations about file format
If you’re selling digital items it’s super important to make it clear that the item is digital, especially since there are typically no returns on digital items. Next, you want to make it clear to the buyer how they can use or edit the item (particularly if it’s an editable template like I’m showing above.
Increases buyer trust
If a shopper is quickly comparing a lot of items and you can make this information clear to them upon first impression, it will help increase their confidence and trust in buying a product from you. You’re essentially saying, “hey! I’ve got all the details covered, no need to figure it out for yourself.”
How can I incorporate this into my shop?
The answer to this is simple: creating default listing information and FAQs that can be reused in each digital template listing in my shop. I was previously creating these individually for each item so I could include the color palette but I quickly realized this was going to be too much of a time suck for not much benefit.
It’s important to note that creating a few default FAQ images by no means replaces the attention to detail you provide when creating the other mockups and product images showcasing the listing. This is simply anticipating all the major needs customers would have across your shop and answering them consistently throughout.
Now, I have a folder stashed away on my desktop and I can easily add the 3 images to each listing in under 30 seconds. Time-saving and amazing.
Let’s get into the templates!
As a reminder, these are just idea prompts for you to use as inspiration for your unique business. Tweak the content and design the aesthetic to suit your brand.
The key to these templates is to be very informative about the processes and specifications used in your shop items, but not too specific where you can’t reuse them.
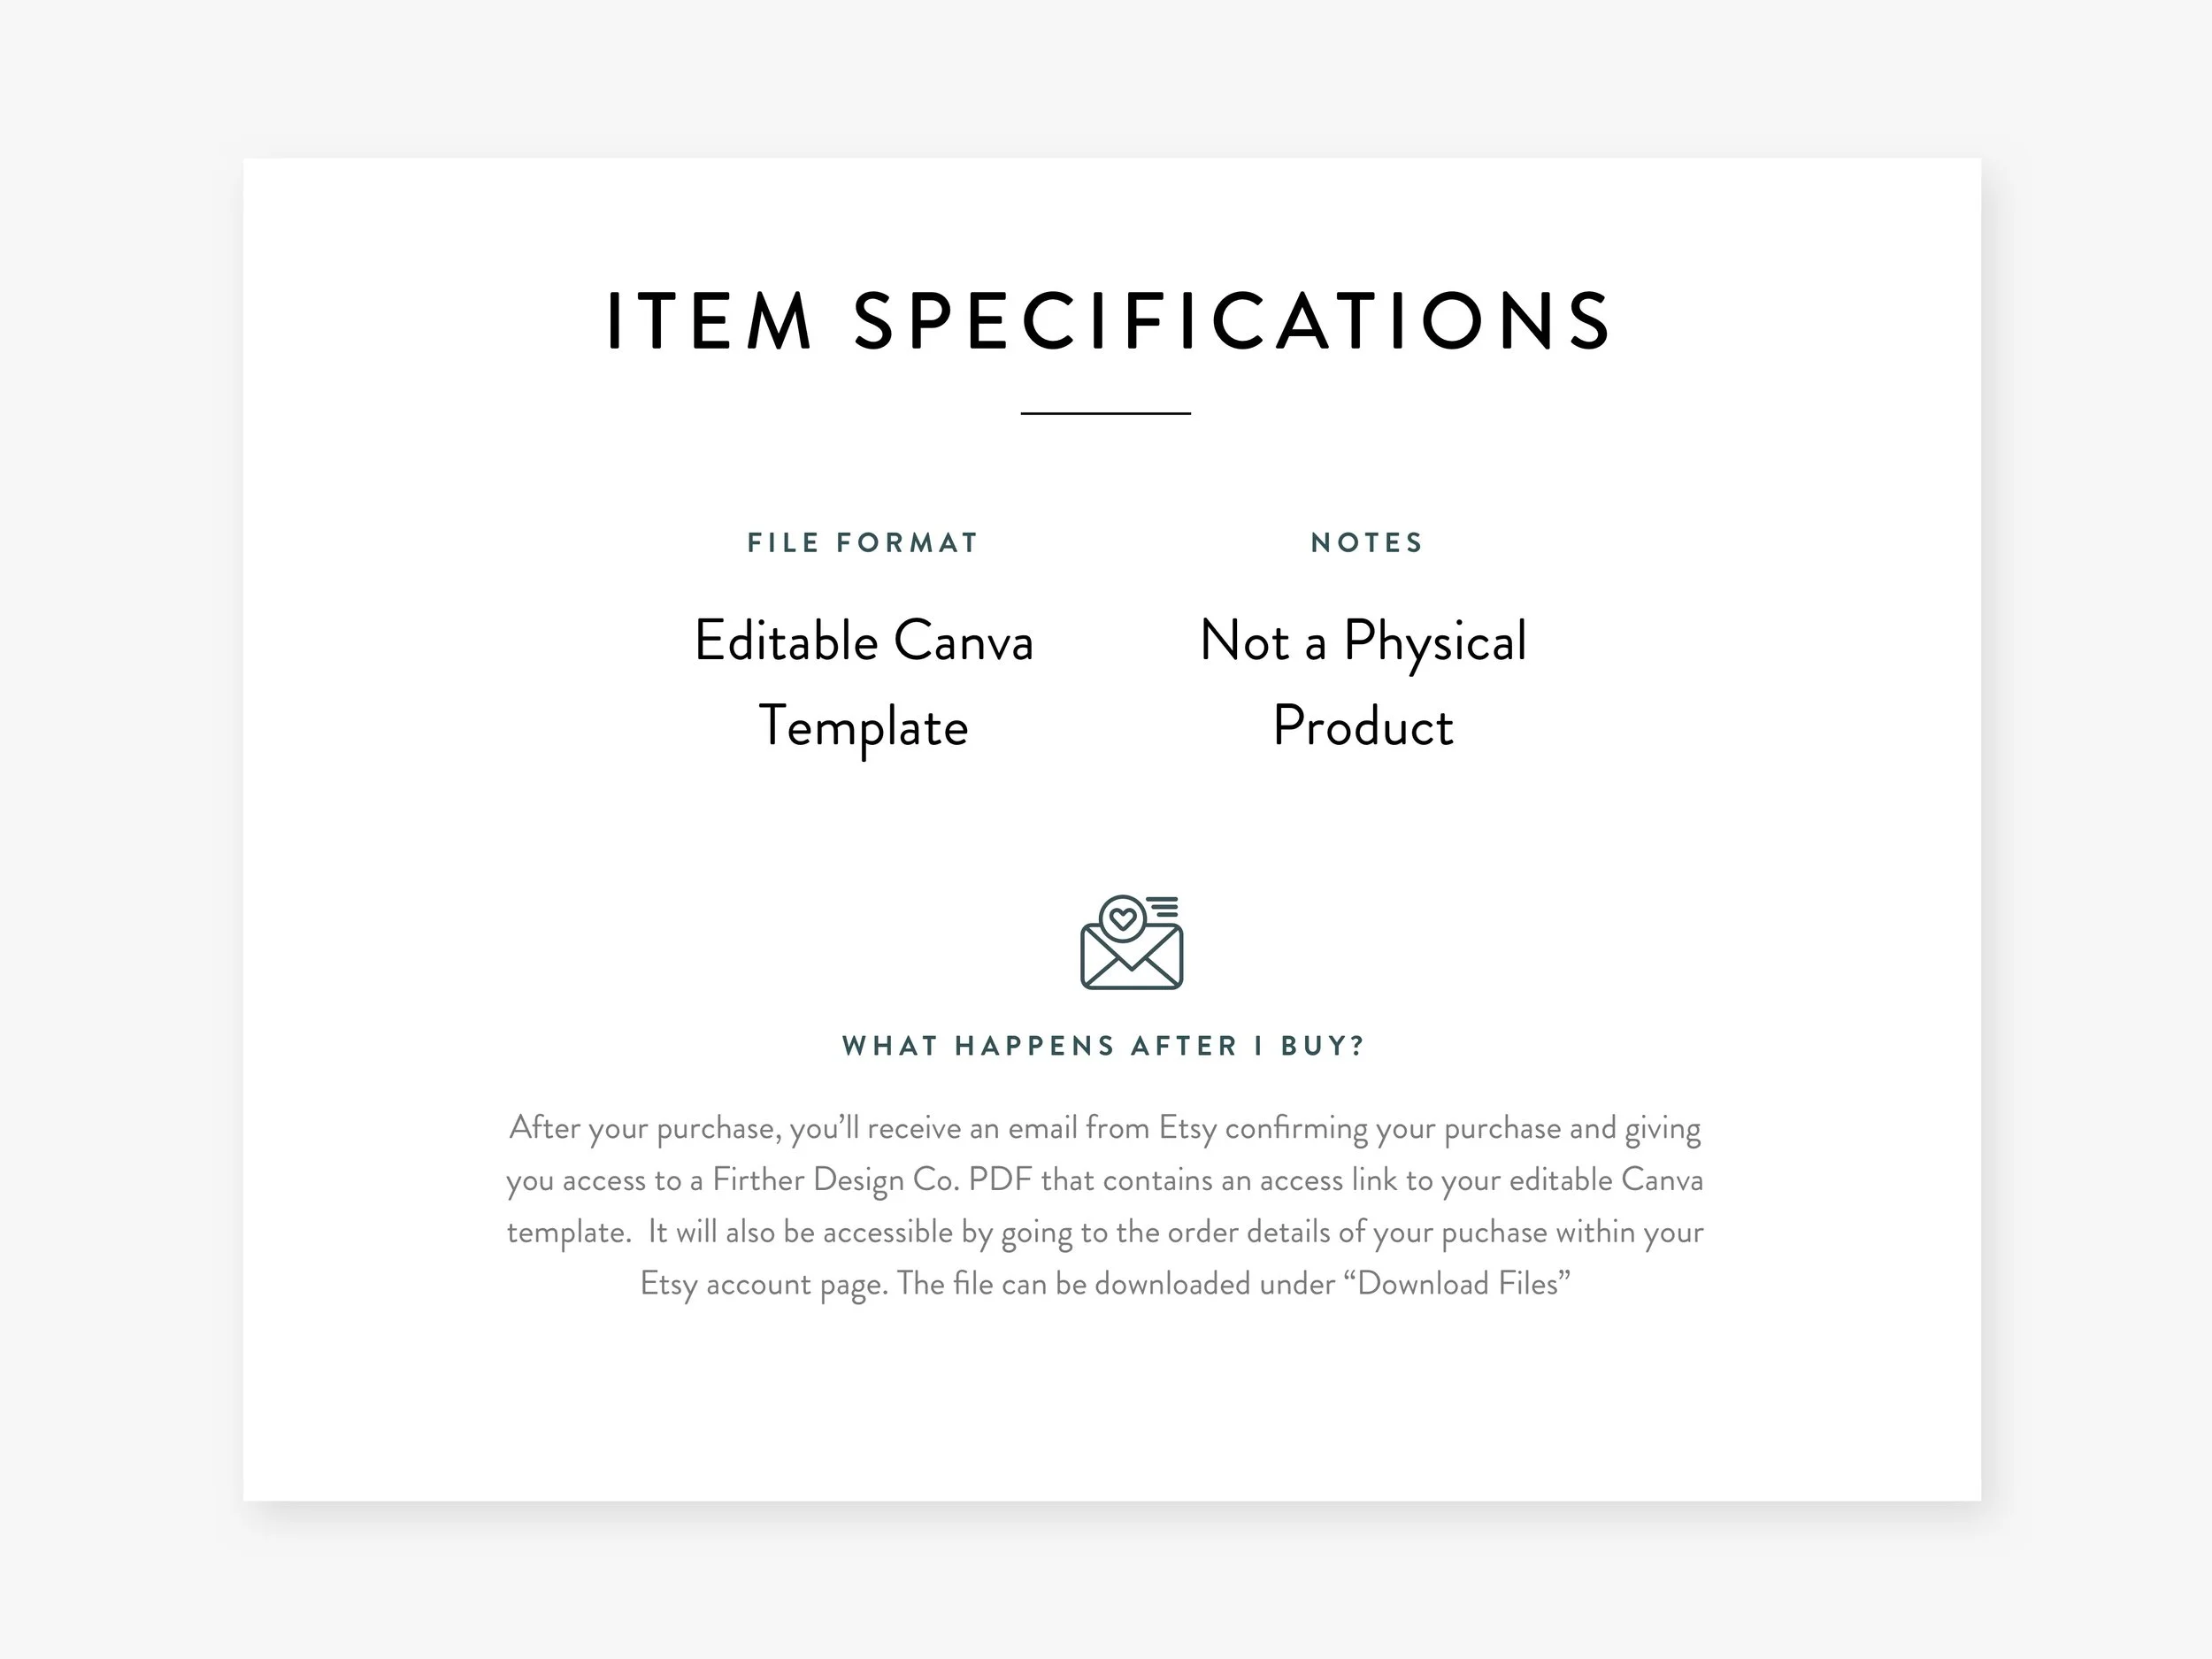
Image #1: Item Specifications
The purpose of this image is to communicate the format of the item (PDF, .jpg, digital, template, etc) and what happens after purchase. Put yourself in the mindset of someone who is new to Etsy and make it easy for them to understand and have confidence in the process of buying a digital item.

Image #2: Anticipate Buyer FAQs
FAQs are pretty self-explanatory. These are more general questions that may relate to editing or printing templates. This is a great place to write in preferred vendors (like printers) to make it really easy for your customer to use your digital product. Getting the item printed and looking as described is very important!
The other thing to answer here is what type of modifications (if any) can be made to the item. If you’re a designer, this information seems basic but remember that not every person has used a design program before and it can be very intimidating.

#3 Showcase the Software
The purpose of this step is two-fold: show the buyer how the item can be edited and how easy it is. I have Canva items in my shop and I love showing how intuitive and modern the interface is. This helps make the process feel more real and accessible to the buyer.
I hope this information helps you add an extra layer of buyer confidence to your shop. I feel like there’s no such thing as too clear when it comes to e-commerce. The main takeaway for me in this process is that a small business owner, smart processes can make a world of different in your day to day life as you inch towards your goals!